
Visual Studio Code (VS Code) is a free, cross-platform, and lightweight source-code editor developed by Microsoft for Windows, Linux, and Mac operating systems. It is a source-code editor while Visual Studio is an IDE (integrated development environment). VS Code supports development operations such as debugging, task running, and version control, like Visual Studio.
In this blog, we will learn about developing, debugging, testing, and deploying ASP.NET Core applications using Visual Studio Code. It will include:
- Install essential plugins.
- Create an ASP.NET Core application.
- How to run the project.
- How to set breakpoints and debug the source.
- Run unit test cases.
- Advantages.
- Limitations.
- Commands, shortcuts, and extensions.
Prerequisites
The following packages should be installed in your machine:
Install essential plugins
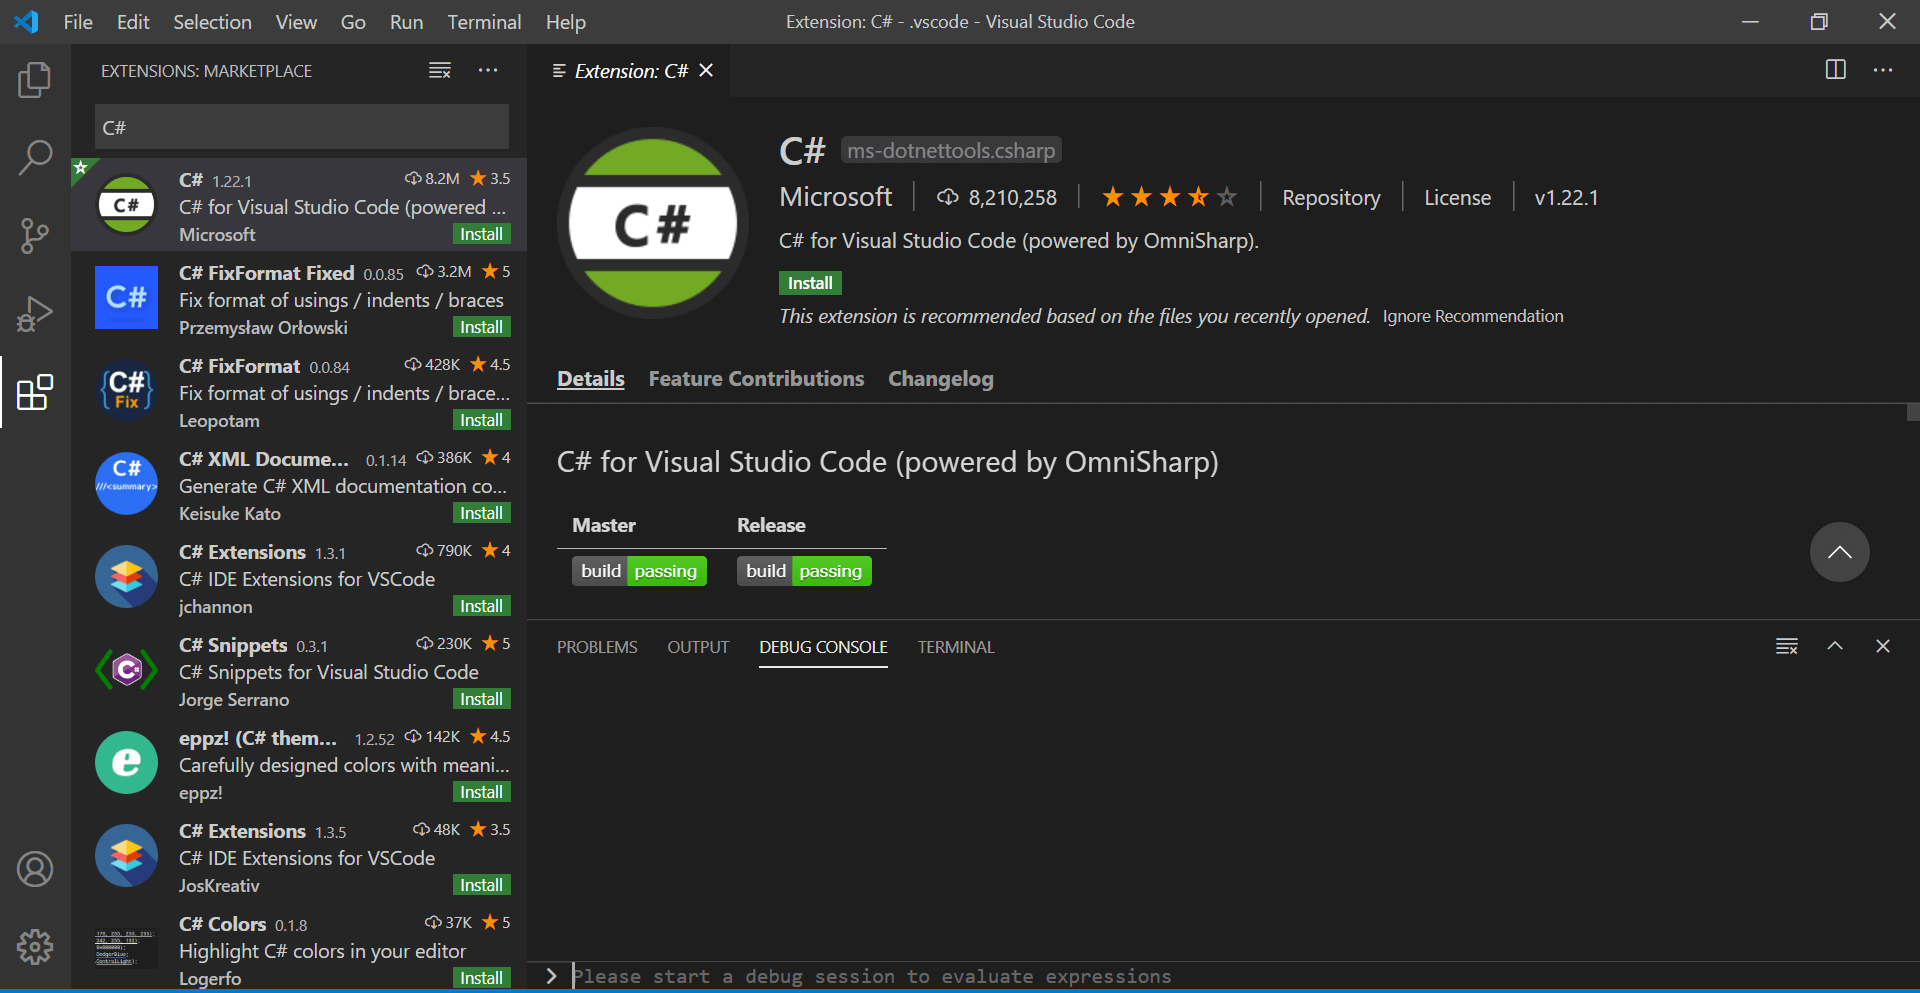
- Install the C# extensions, which are required for development of ASP.NET Core applications. To open the list of extensions, please select the extensions icon on the left side of menu or use the Ctrl + Shift + X shortcut key. Refer to the following screenshot.

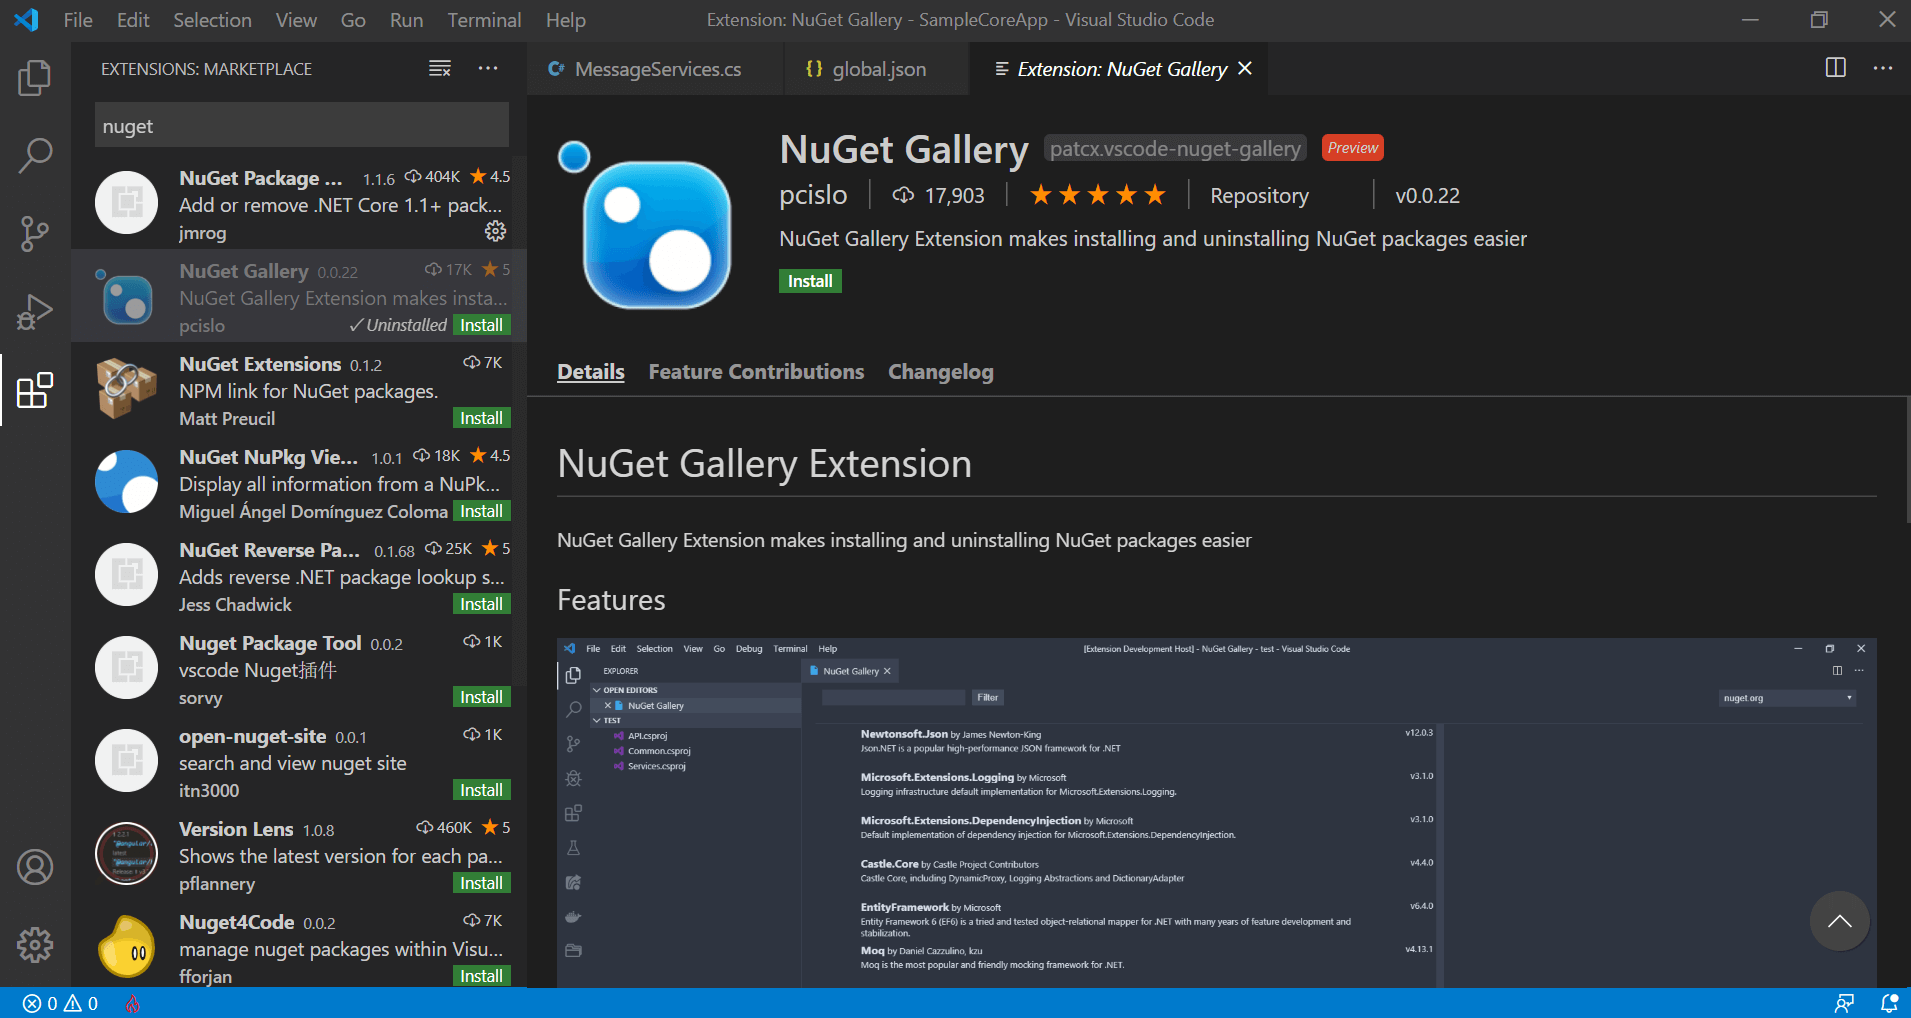
- Then, install the NuGet Gallery extension to add and update NuGet packages in the VS Code.

- Visual Studio Code has no built-in commands to generate ASP.NET Core projects, so it requires some manual work. We can use the popular Yeoman (https://yeoman.io/) command line tool, which provides an option to scaffold a new ASP.NET Core project.It is dependent on Node.js and it should be installed in your machine, as mentioned in the prerequisites. Open an instance of the command prompt and type in the following command to install Yeoman with gulp and Bower in the global location.
npm install -g yo generator-aspnet gulp bower
Create an ASP.NET Core application
After installing the plugins, please follow these steps to create a new ASP.NET Core project in VS Code:
- Create an empty directory in the local disk.

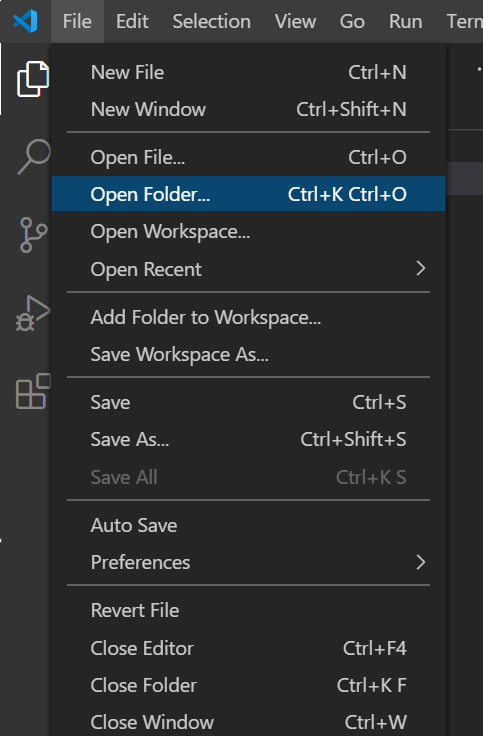
- Open that empty directory in VS Code by selecting File -> Open Folder.

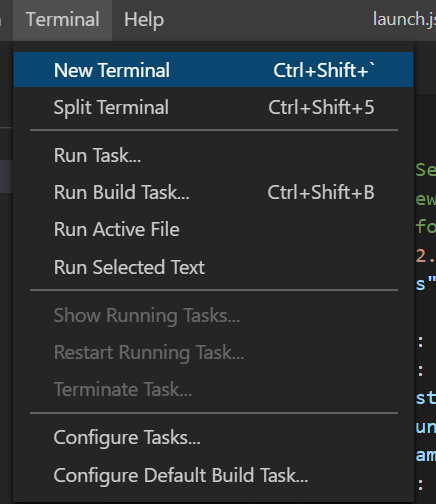
- Open the terminal by using the shortcut Ctrl + Shift + ` or Terminal -> New Terminal.

- After opening the terminal, type and execute the following command:
yo aspnetThen, it will show you the list of ASP.NET project templates.
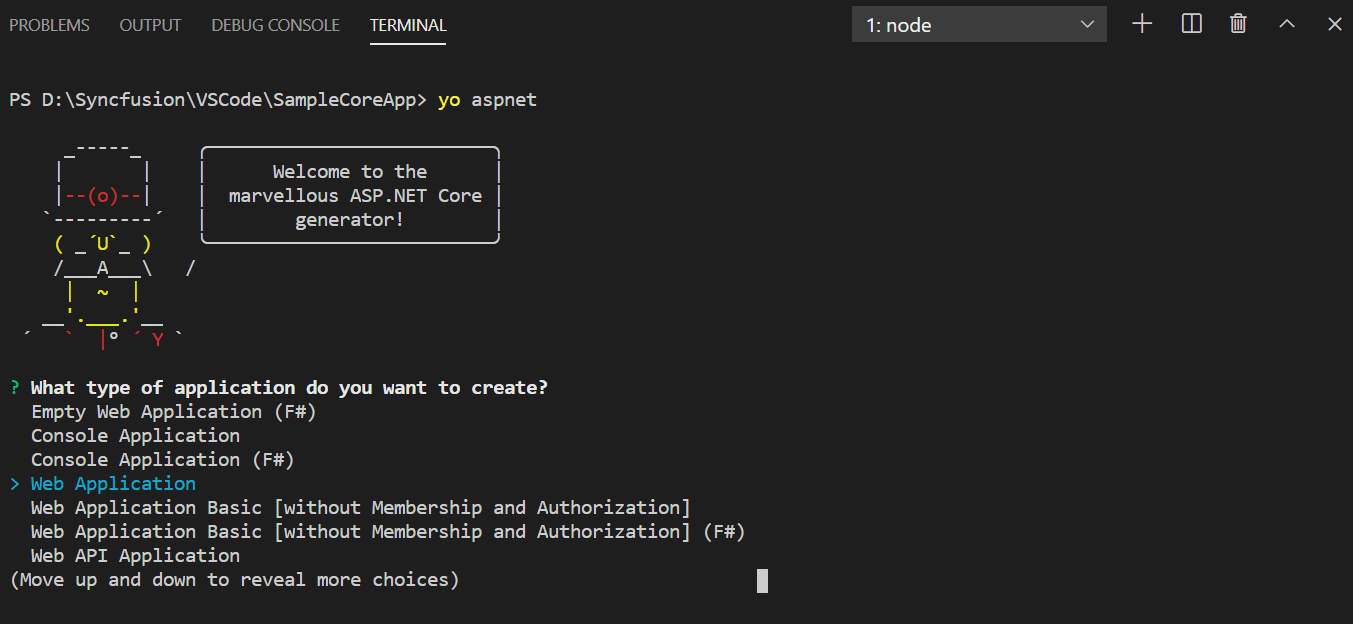

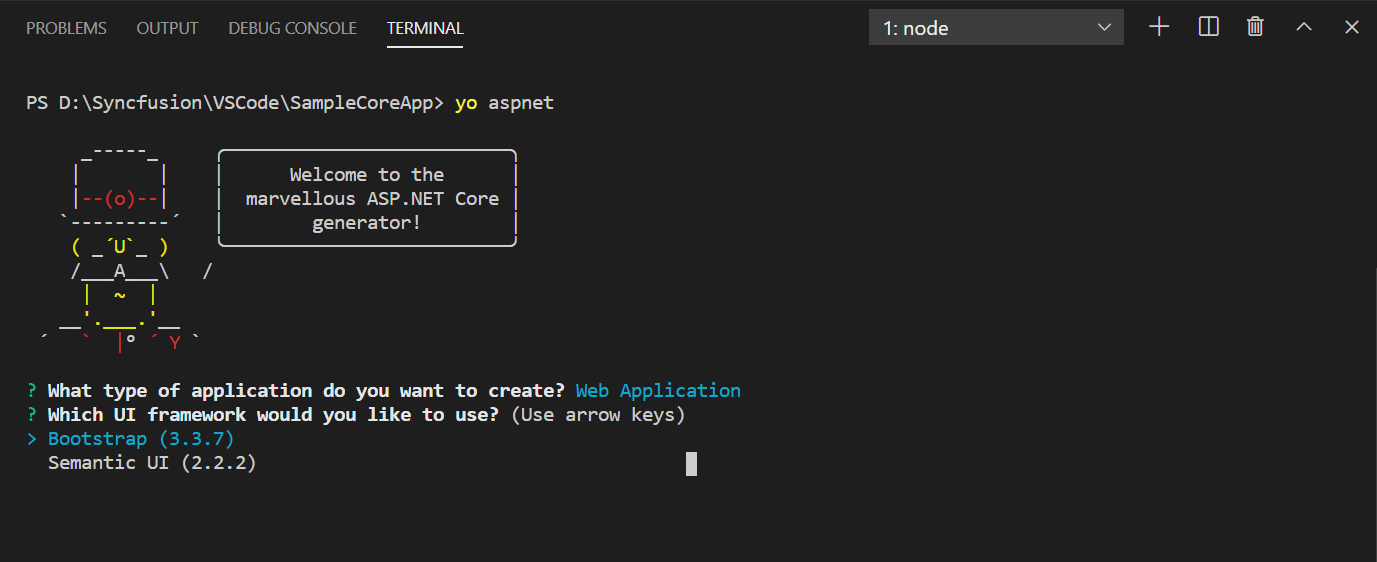
- Select the web application option. It requests the UI framework be used in the project. Select Bootstrap from the list, as shown in the following screenshot.

- After selecting the UI framework, the console will request the application name. We are naming this application SampleCoreApp.


- After entering the name for the application, it will generate the project templates with the controller and views, similar to the project created with Visual Studio. Then, we should update the .NET Core version in the global.json file. Now, build the source using the following command.
dotnet buildThe source will be built and show the errors, if any.
- Yeoman will generate only the project templates, not the solution file (.sln) for the project. So, generate the solution file for the projects using the following command.
dotnet new sln
- Create an empty directory in the local disk.

 How to run the project
Now, let’s run and debug the source in the VS Code editor. To run the source, we can either:
- Use command line tool with the command dotnet run.
- Use inbuilt run option in VS Code like in Visual Studio.
By using the command line tools, we can run only the source. It won’t attach the browser with the VS Code to display the result. To attach the browser with the editor, we should use some additional commands with the dotnet run command. So, it is better to use the inbuilt option for running and debugging the source on VS Code.
Before launching the source, we should add the tasks.json file. It will have the details of running the scripts and building the source. Otherwise, we have to use the command line tool before running the source every time.
Tasks in VS Code can be configured to run scripts and start the process. So, VS Code will use many of the existing tools without having to enter any command or write any code.
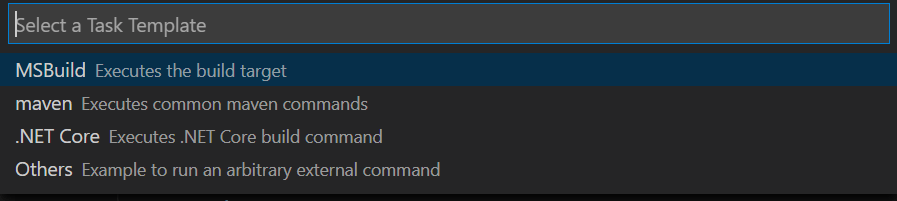
To create the tasks.json file and build the source:
- Use the shortcut Ctrl + Shift + P to open the command palette.
- Select the Tasks: Configure Task option in the command palette.
- Then, select Create tasks.json file from template from the command palette. It will display the list of build tools. Select the .NET Core option from the list.

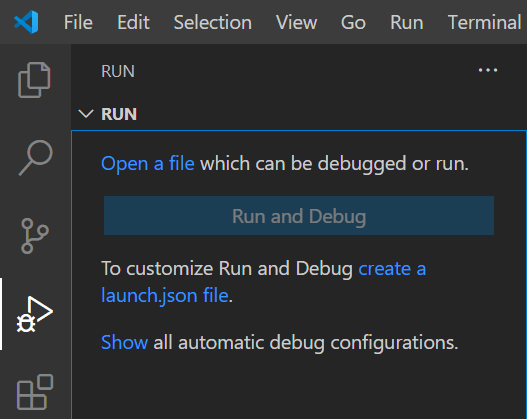
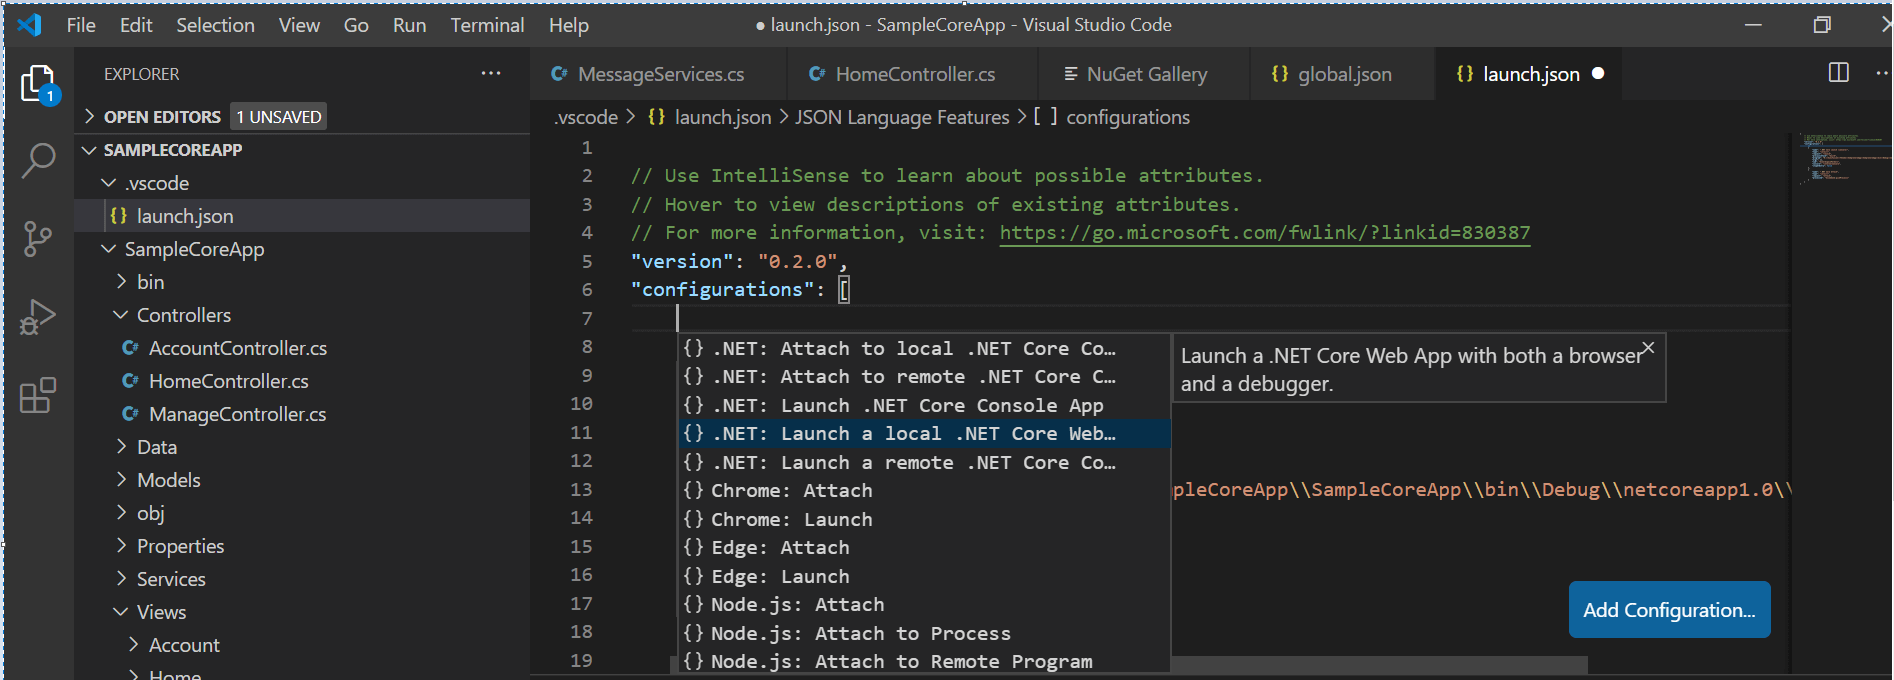
- Using the Run option in the left menu, we can run the source and debug it. When clicking Run, it will ask you to create the launch.json file. The launch.json file will have the configurations to run and debug the source. Debugging is not possible in VS Code without this file.

Note: By default, the launch.json file will have the launch configuration for the console, and we should configure it to the web. In the launch.json file, the Add Configuration floating button will be available at the bottom. It will list a set of configurations that can be used to debug the console app, Node.js, and so on.
- To run a web app, we should select the .NET Core Launch (web) configuration. Once the configuration is added, we should update the root project dll in the program field. The root project has to be debugged.

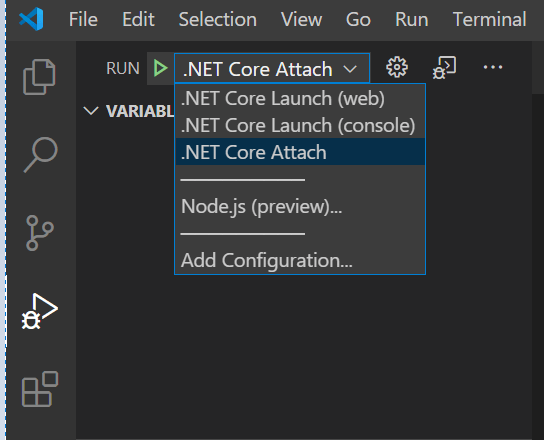
- Once you’ve saved the added configuration, the launch option will be available with our newly added configuration in the Run menu. We can select that configuration and run the source. Refer to the following screenshot.
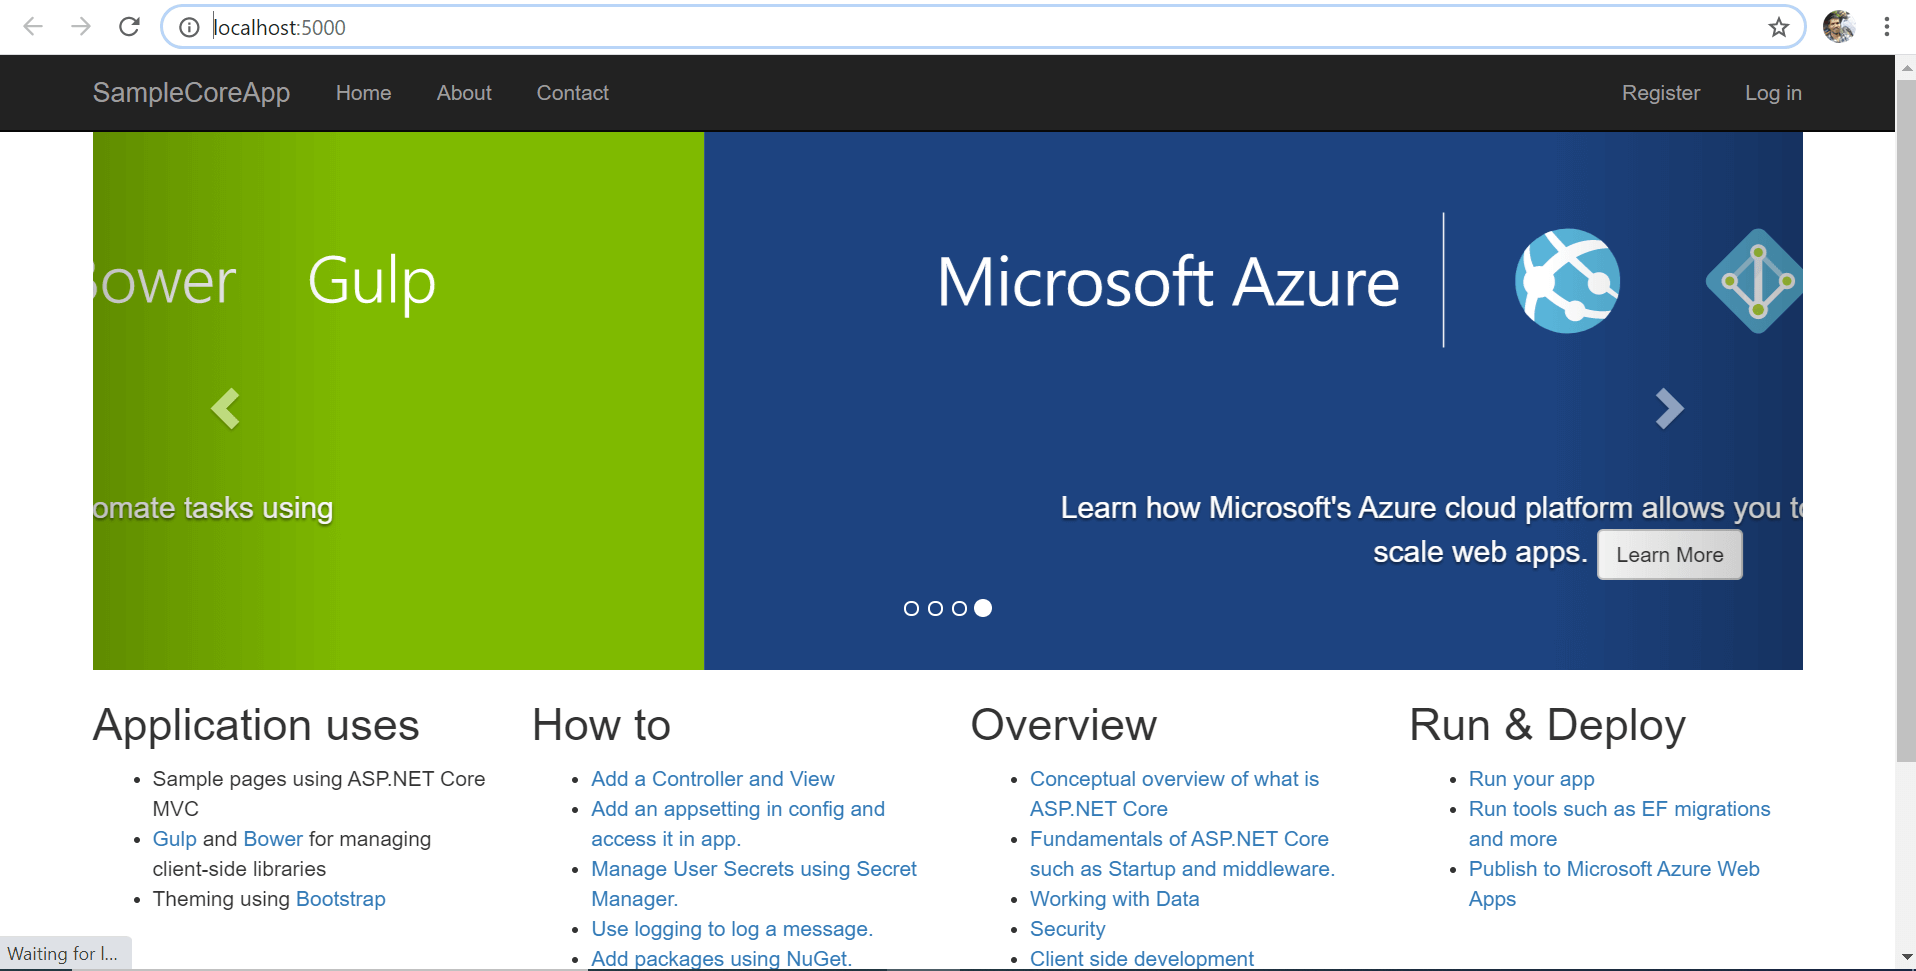
 Now, the ASP.NET Core app will be launched on the browser window as shown in the following screenshot. Thus, we have launched the .NET Core app without Visual Studio.

How to set breakpoints and debug the source
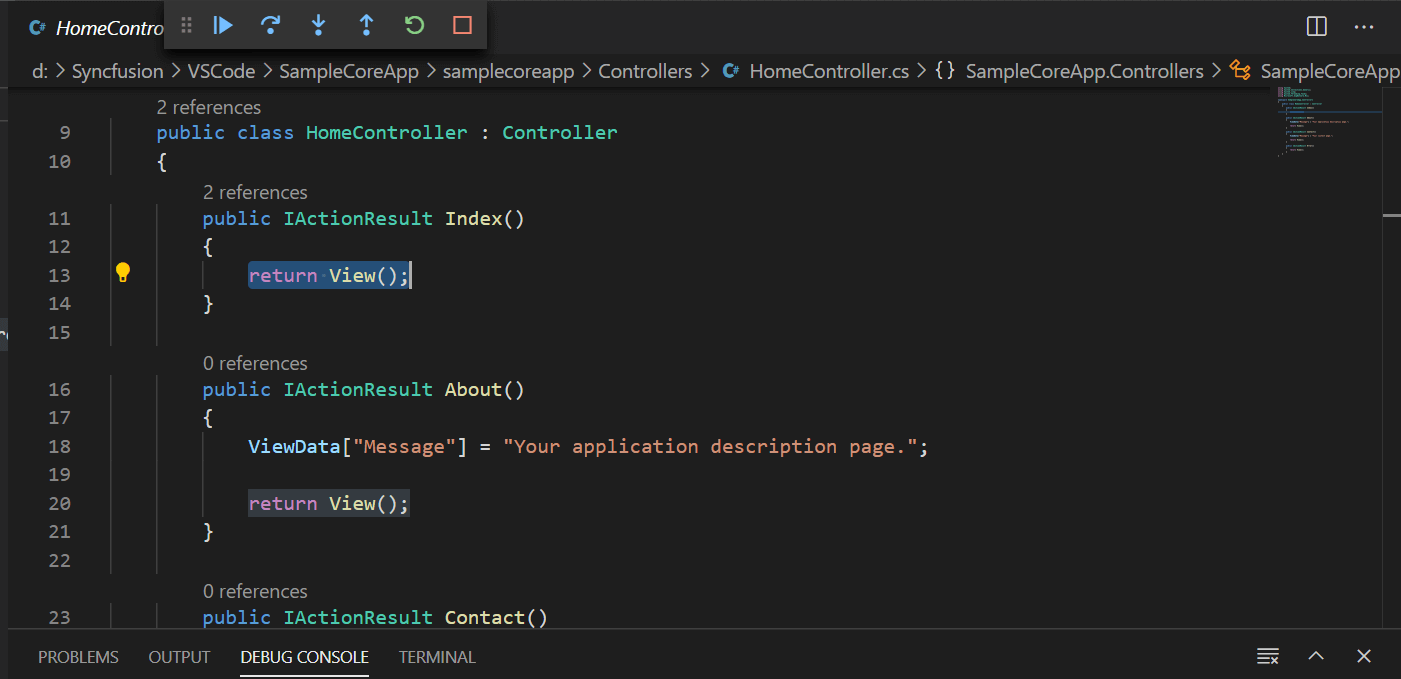
Breakpoints in VS Code work the same as in Visual Studio and we can just include the breakpoint on the left side of the code. All the options, like step over, step into, pause, stop, and restart, will be available in the debug window.
The Launch.json file plays a major role in attaching the browser window and the source editor. This will allow us to debug the source in VS Code using the configuration we made while launching the source. Refer to the following screenshot.
 Run unit test cases
To run the unit test cases, the command line has a separate command and that runs all the test cases we have in our project. Using the following command, we can run all the test cases using the command prompt or VS Code terminal. The output will be displayed in the output window, which is similar to what Visual Studio does.
dotnet test |
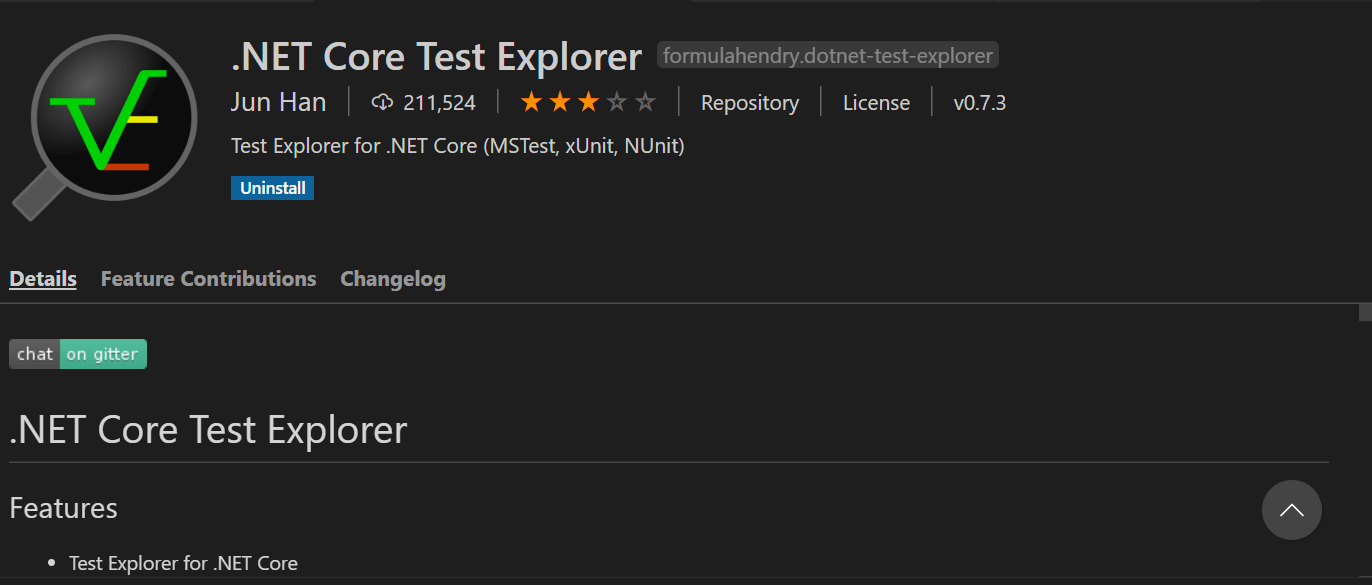
The previous command has only the provision to run the test cases as a whole. We cannot debug the test with this. Similar to the test explorer in Visual Studio, VS Code also has an extension .NET Core Test Explorer. This extension will list out the test cases in our project. It also lets you run all test cases, run a single test case, and debug a test case.
 Advantages
- Like Visual Studio, Visual Studio Code, too, has tools for running and debugging the source: watch window, debug console, error window, output window, test explorer, and version control.
- Since VS Code is faster than Visual Studio, we will have a better experience.
- As it is open source, we can use it for free.
- A number of extensions are available for VS Code that will give us a native feel, like we were working with Visual Studio. The only thing we need to do is identify the best extensions and configure them before starting development.
Limitations
- VS Code supports only the ASP.NET Core framework. It doesn’t have support for debugging MVC (non-Core) applications. So, we can’t use VS Code for MVC development. We should go for Visual Studio in that case.
- Visual Studio is a ready-to-use tool to develop and deploy ASP.NET Core projects. When using VS Code, a lot of time has to be spent on installing and configuring extensions.
Commands, shortcuts, and extensions
Let’s look at the commands, shortcuts, and extensions available in the VS Code editor for .NET Core project development.
List of commands
The following commands will work in the command line tool without an IDE or editor:
- dotnet new—Creates a new .NET Core project template.
- dotnet restore—Restores the NuGet packages.
- dotnet build—Builds the source.
- dotnet run—Runs the source.
- dotnet test—Runs the test cases.
- dotnet Publish—Publishes the source in host environment.
- dotnet new sln—Creates a solution file for the selected project.
References
Shortcuts on Visual Studio Code
- Ctrl + Shift + P—Command palette
- Ctrl + Shift + D—Run window
- Ctrl + Shift +`—Terminal
- Ctrl + Shift + U—Output window
- Ctrl + Shift + Y—Debug console
- Ctrl + Shift + M—Problem (error and warning window)
- Ctrl + Shift + X—Extension window
Extensions
The following is a list of some basic extensions that will give you the same feel and experience as Visual Studio:
- C# extension—It is required for all C#-related development.
- NuGet Gallery—It gives the real feel of the Visual Studio NuGet Package manager.
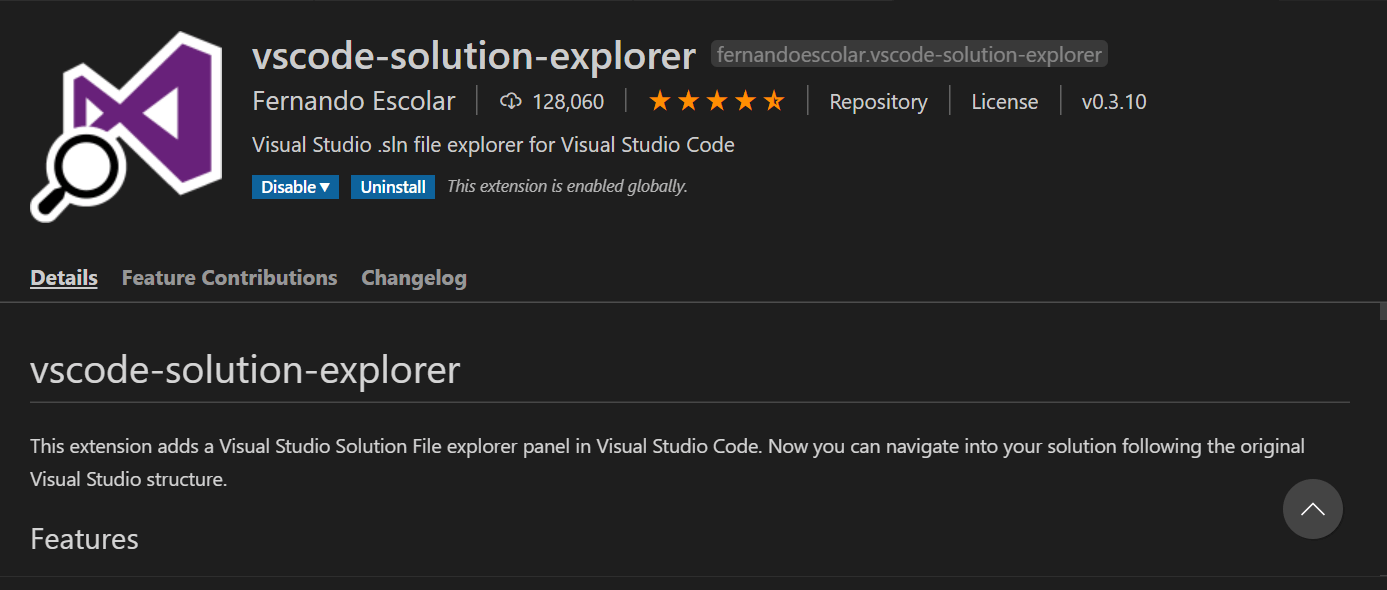
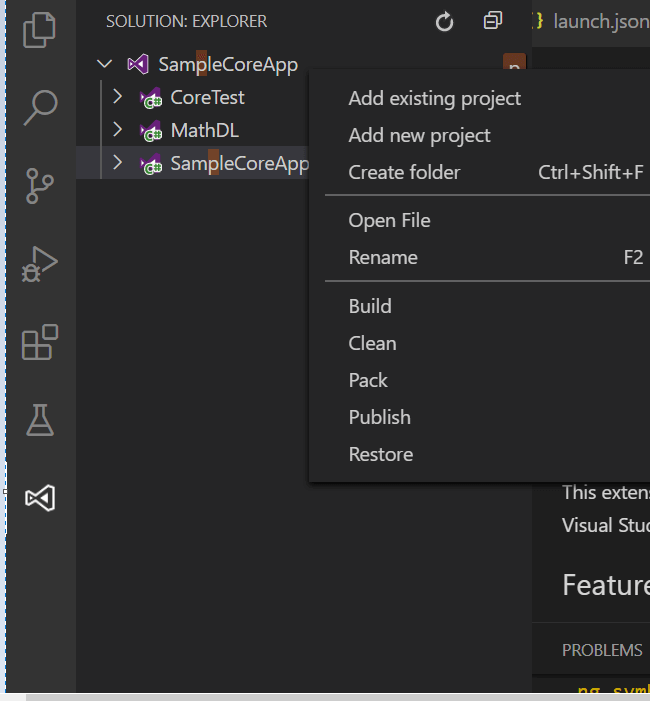
- Solution Explorer—Once it is added to your project, it shows the explorer, like Visual Studio does.

Explorer view

- Test Explorer—It lists out the unit tests we have in our projects.

Reference:
Conclusion
In this blog, we have learned how to use the VS Code editor for ASP.NET Core projects to run and debug apps. We hope this blog opens the way for using VS Code editor for ASP.NET Core projects.
So, try it out and share your feedback in the comments section below!
The Syncfusion ASP.NET Core UI control library offers a wide range of high-performance, lightweight, modular, and responsive UI controls in a single package. Use them to increase your productivity!
For existing customers, the newest version is available for download from the License and Downloads page. If you are not yet a Syncfusion customer, you can try our 30-day free trial to check out our available features. Also, try our samples in this GitHub location.
You can also contact us through our support forum, support portal, or feedback portal. We are always happy to assist you!


Comments (1)
Hello Mathankumar and thank you for your post. I think this is the most clear article I have read so far on how to setup VS code for ASP.NET core. Excellent job!
Comments are closed.