
This post is part of our ongoing How-to series. In this entry, we will demonstrate how to create a custom widget and add it to the Syncfusion Dashboard Designer so that it functions as if it was a built-in widget. To watch a full video on this topic, with step-by-step instructions for each stage of the process, visit our YouTube page.
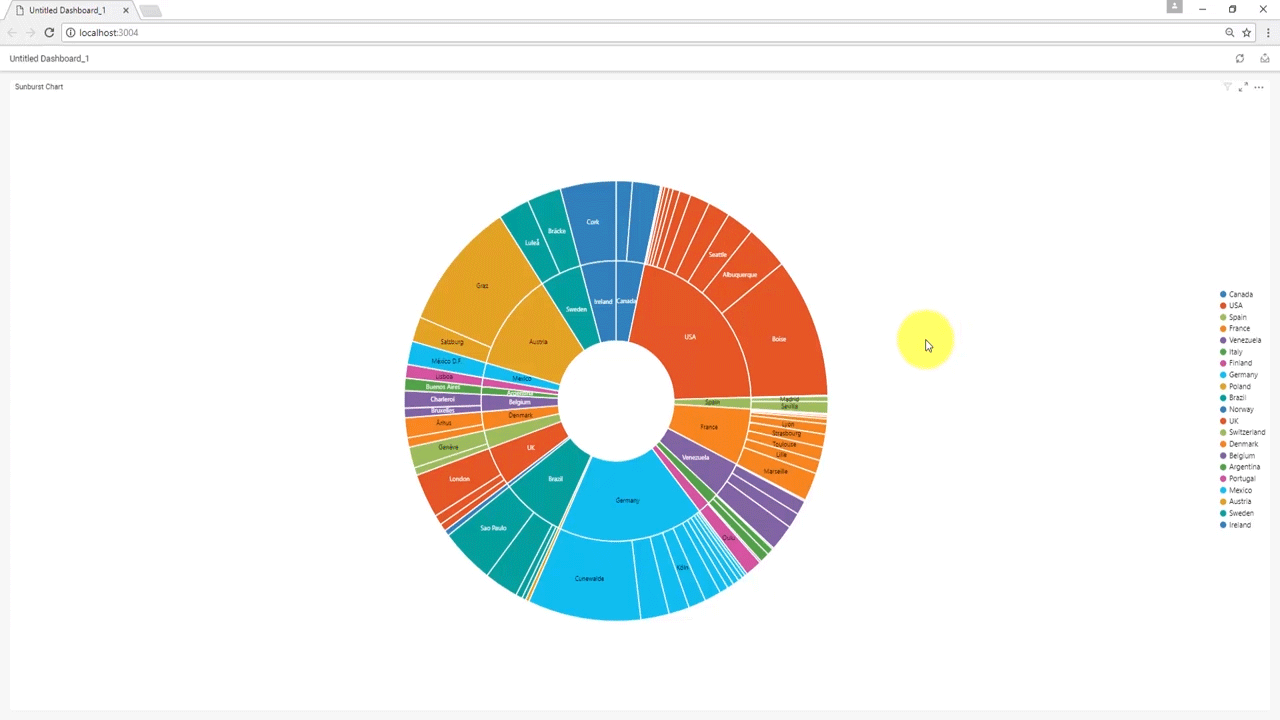
Making a visually appealing sunburst chart isn’t as difficult as it might seem.
Creating a Custom Widget
In this post, we will be using a sunburst chart as our example, but any control can be created and imported in the same way. To begin, ensure that you have Dashboard Designer installed. Open the Syncfusion installation folder and navigate to the DashboardDesigner subfolder. Here you will find a utility named sycw.exe. Open it.
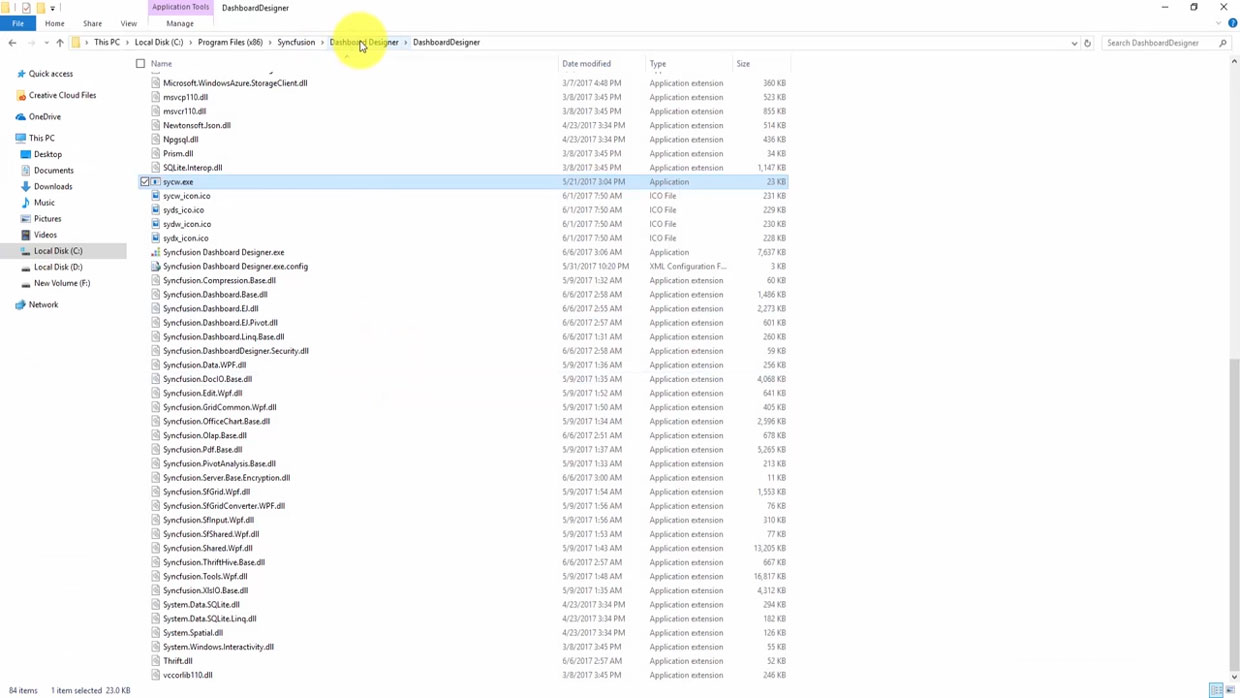
The SYCW Utility
Sycw.exe opens a command window. This window offers two commands: create a custom widget template, and compile a template to a valid SYCW file. Use the create command followed by the widget path and widget name, as described in the window, to create a template in the desired location. For our purposes, we will name this custom widget SunburstChart.
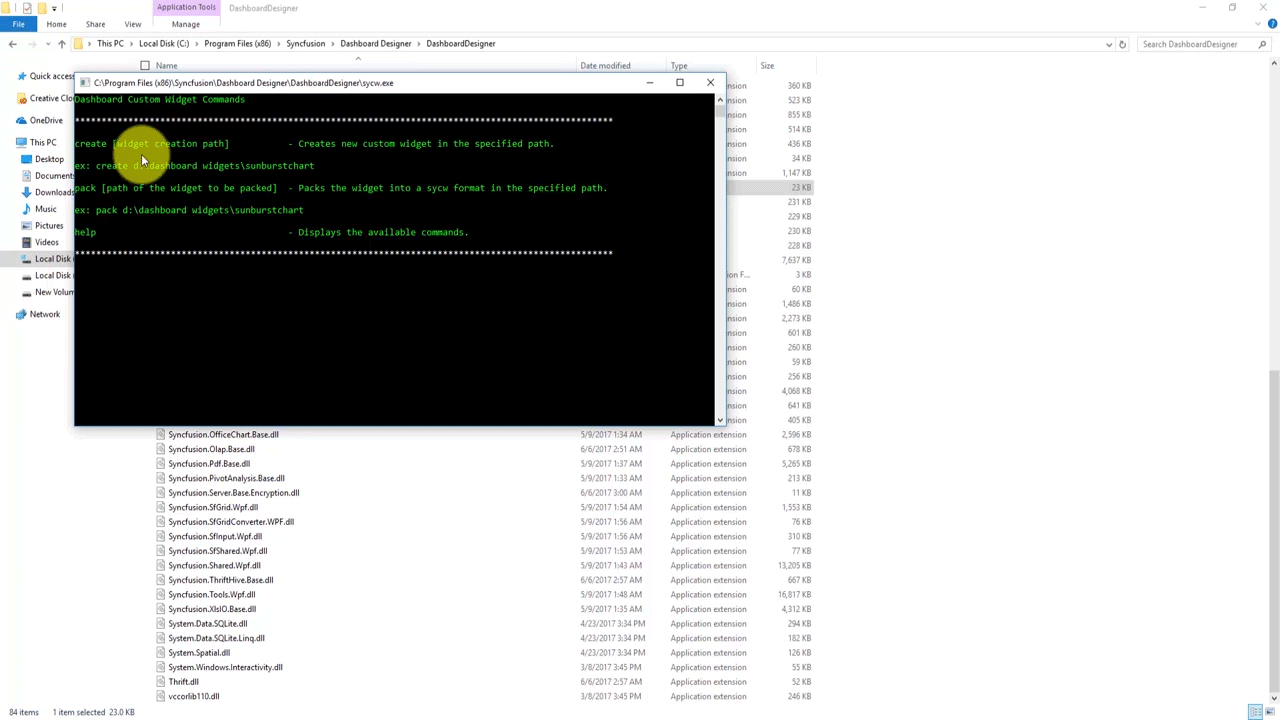
The SYCW Command Window
The custom widget template is created in the specified location along with several folders and files. The icon folder contains the icon for the widget, the src folder contains the source files, the style folder contains the custom CSS style, ReadMe.txt contains the details of the API for the widget, and widgetconfig.json is the manifest file for integrating the widget in the Dashboard Designer. Each of these must be adjusted to successfully create a custom widget.
Customizing a Widget
The easiest starting point is the manifest file. Open widgetconfig.json. Here, you can specify many important details of the widget. It is recommended that you do not change the widget’s unique ID; this value is set upon the widget’s creation, and leaving it as-is ensures that you do not accidentally create conflicts with another widget’s ID. However, you can safely change everything else.
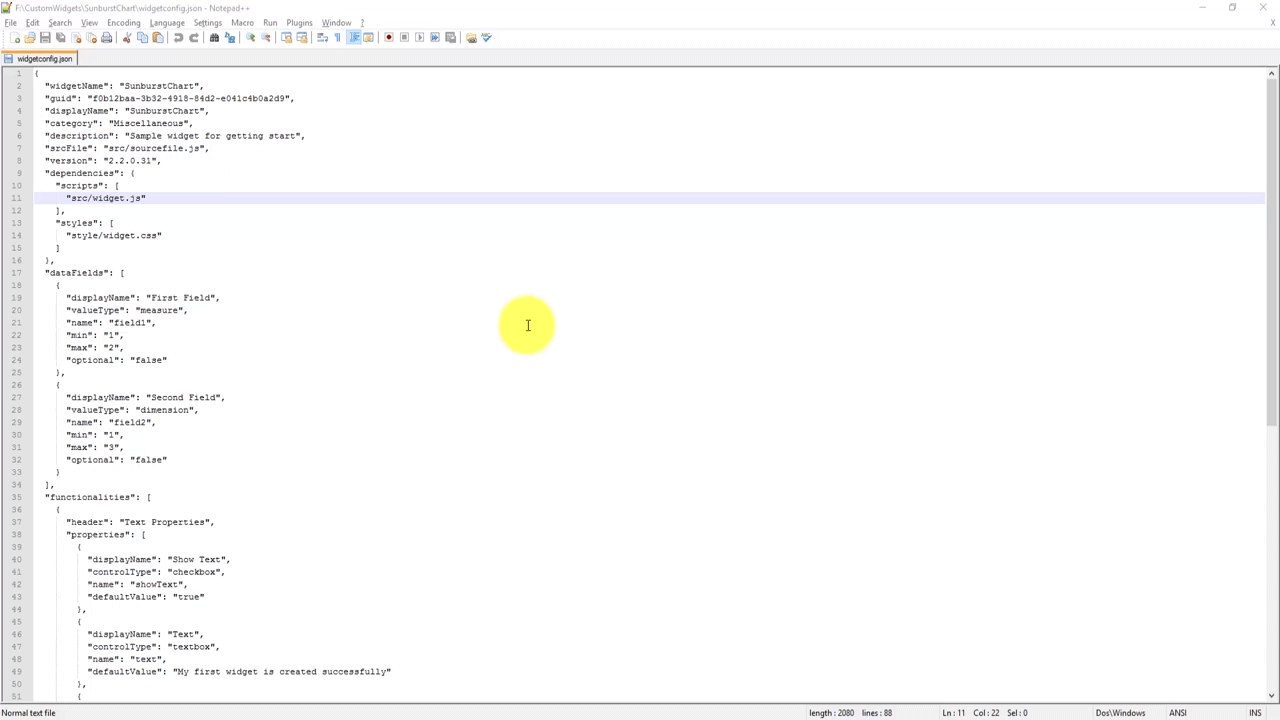
The Widgetconfig.json File
The most important configuration settings are dataFields and functionalities. The dataFields setting determines the format of the Data section in the final widget. For a sunburst chart, this means the displayed levels and their values. Since we wish to have four different levels, the displayed level value should be set to four. We will set the value as 1 for the time being. [GH1] The functionalities setting addresses the final output of the widget. By default, all widgets will have the Header, Description, and Container Appearance settings enabled. For our sunburst chart, we will enable the Show Title property, create the Title Text information, enable the Show Legend property, enable Data Label Rotation mode, enable zooming, and set the animation type to rotate.
The last configuration setting that we will look at is the filterSettings. This determines how the widget interacts with the data of the other widgets in the dashboard. By setting our widget to be a master widget, we can filter and show data in all other widgets available in the dashboard. For demonstration purposes, we will set both the visible and default values as true. There may be times where you do not want a widget to be filtered by the master widget. To control this, set the ignoreMasterFilter property. For our sunburst chart, we will set the visible value to true and the defaultValue to false. This will allow the sunburst chart data to be affected by filter actions from other widgets.
With the manifest file customized, it is time to turn to the src folder. This folder contains the source code for the custom widget. In the src folder, the widget.js file is just an empty JavaScript file which can be used to add source scripts for the widget. Since we don’t need it, we will delete it. The src folder can also contain dependent script files, and so we will import our sunburst chart’s modified JavaScript file to this location. The last file here, sourcefile.js, contains the template methods for rendering the custom widget and is where we establish the process for rendering our widget. First, we have the init function, used to first render the widget. Second, we have the update function, which is used to re-render the widget as needed. To perform the init function, we use the renderSunburstChart method. By using the parameters in this file, we can customize exactly how to render and re-render the widget.
With the essential functions performed, we can now look at the other files and directories in our sunburst chart’s directory. We do not need a styles record or readme file, so we can safely delete the style folder and ReadMe.txt. We do need an icon, however, so we will add an icon, in PNG format, to the icon folder. With this completed, we are ready to finalize our configuration. Returning to the widgetconfig.json file, we must configure the dependency settings by providing a relative pack for the dependent file.
Finally, we must compile the template to a valid SYCW file. Returning to the console, we input the pack command followed by the file path of our custom widget. With this done, our custom widget is ready at last.
Integrating a Widget into Dashboard Designer
Now that we have our custom widget, it’s time to add it to Dashboard Designer. Open the application and select the Manage Custom Widgets option. Click Add Widget and select the custom widget. To edit the chart, simply use the Add a Chart tool to add the widget directly to the canvas. Once in the canvas, we can edit the different properties of our widget through a simple drag-and-drop interface.
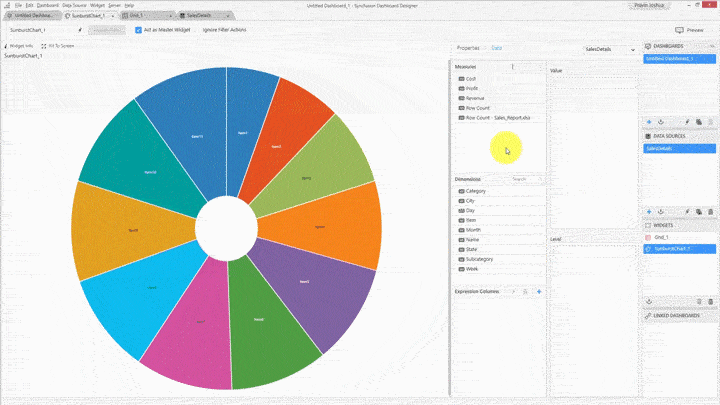
Updating properties is very simple.
Debugging JS Files for Custom Widgets
For every widget added to the canvas, an HTML file will be generated in the AppData folder. These files can be found by navigating to AppData > Roaming > Syncfusion > DashboardDesigner > version > HTML. This HTML file can be used to debug the associated widget.
Learning More
This is just a broad overview of the widget creation process. With Syncfusion controls, you can control the appearance and functionality of your widgets to a very fine degree. To see the exact process we explored in this post, be sure to check out the full video on Syncfusion’s YouTube page. For a deep dive into creating custom widgets, read Syncfusion’s thorough documentation.
If you liked this post, we think you’ll love these free e-books:
BI Solutions Using SSAS Tabular Model Succinctly
MongoDB 3 Succinctly
Hadoop Succinctly
Power BI Succinctly
R Programming Succinctly


